> ## Documentation Index
> Fetch the complete documentation index at: https://vastai-80aa3a82-fix-google-validation-docs-404s.mintlify.site/llms.txt
> Use this file to discover all available pages before exploring further.
# Blender in the Cloud
Blender is a free, open source 3D creation suite. It can be used to create animated films, visual effects, art, 3D-printed models, motion graphics, interactive 3D applications, virtual reality, and video games. It supports the entirety of the 3D pipeline-modeling, rigging, animation, simulation, rendering, compositing and motion tracking, even video editing and game creation. You can find more information about Blender at [blender.org](https://www.blender.org/).
Animators, game developers, 3D modelers, visual effects artists, architects, and product designers are some people who use Blender.
GPUs can speed up rendering in Blender.
## Step 1 - Open Blender in the Cloud Template
Click on this link [Blender in the Cloud Template](https://cloud.vast.ai?ref_id=142678\&template_id=5846e4535b1ff5db56024c1c0711a0ce) to select the kasmweb/blender in the cloud template.
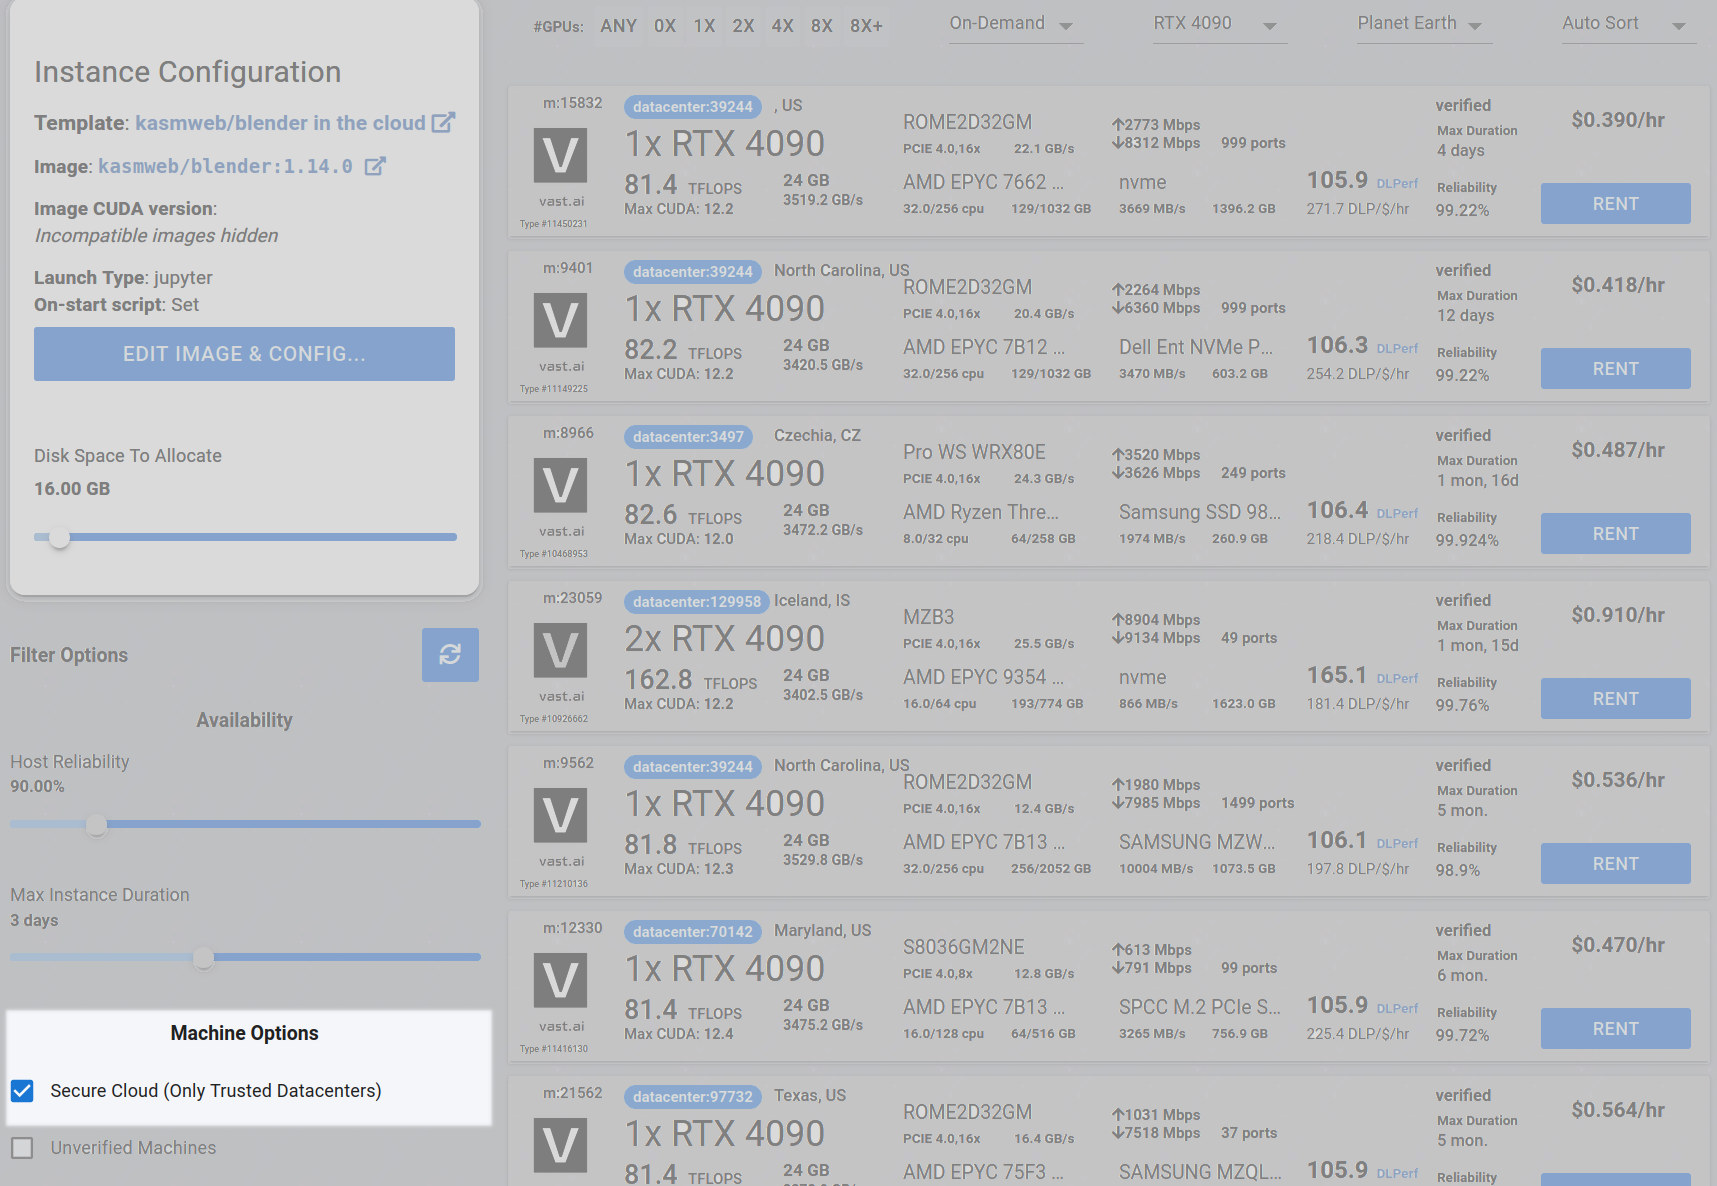
## Step 2 - \[Optional] Check the Secure Cloud box
You can narrow your search results to only data center machines if you want insured security standards from our trusted datacenters.
## Step 3 - Filter for a GPU that you feel best suits your needs
If you have questions about which GPU to choose, there is some data around NVIDIA Geforce RTX 4090 giving the best render speed with Blender. You can find other GPUs that work well with Blender here [Blender GPU Benchmarks](https://opendata.blender.org/benchmarks/query/?group_by=device_name\&blender_version=3.6.0). You can also find other options by searching on Google or asking ChatGPT.
The version of Blender running within Vast while using the template linked above at the time of this writing is 3.6.2.
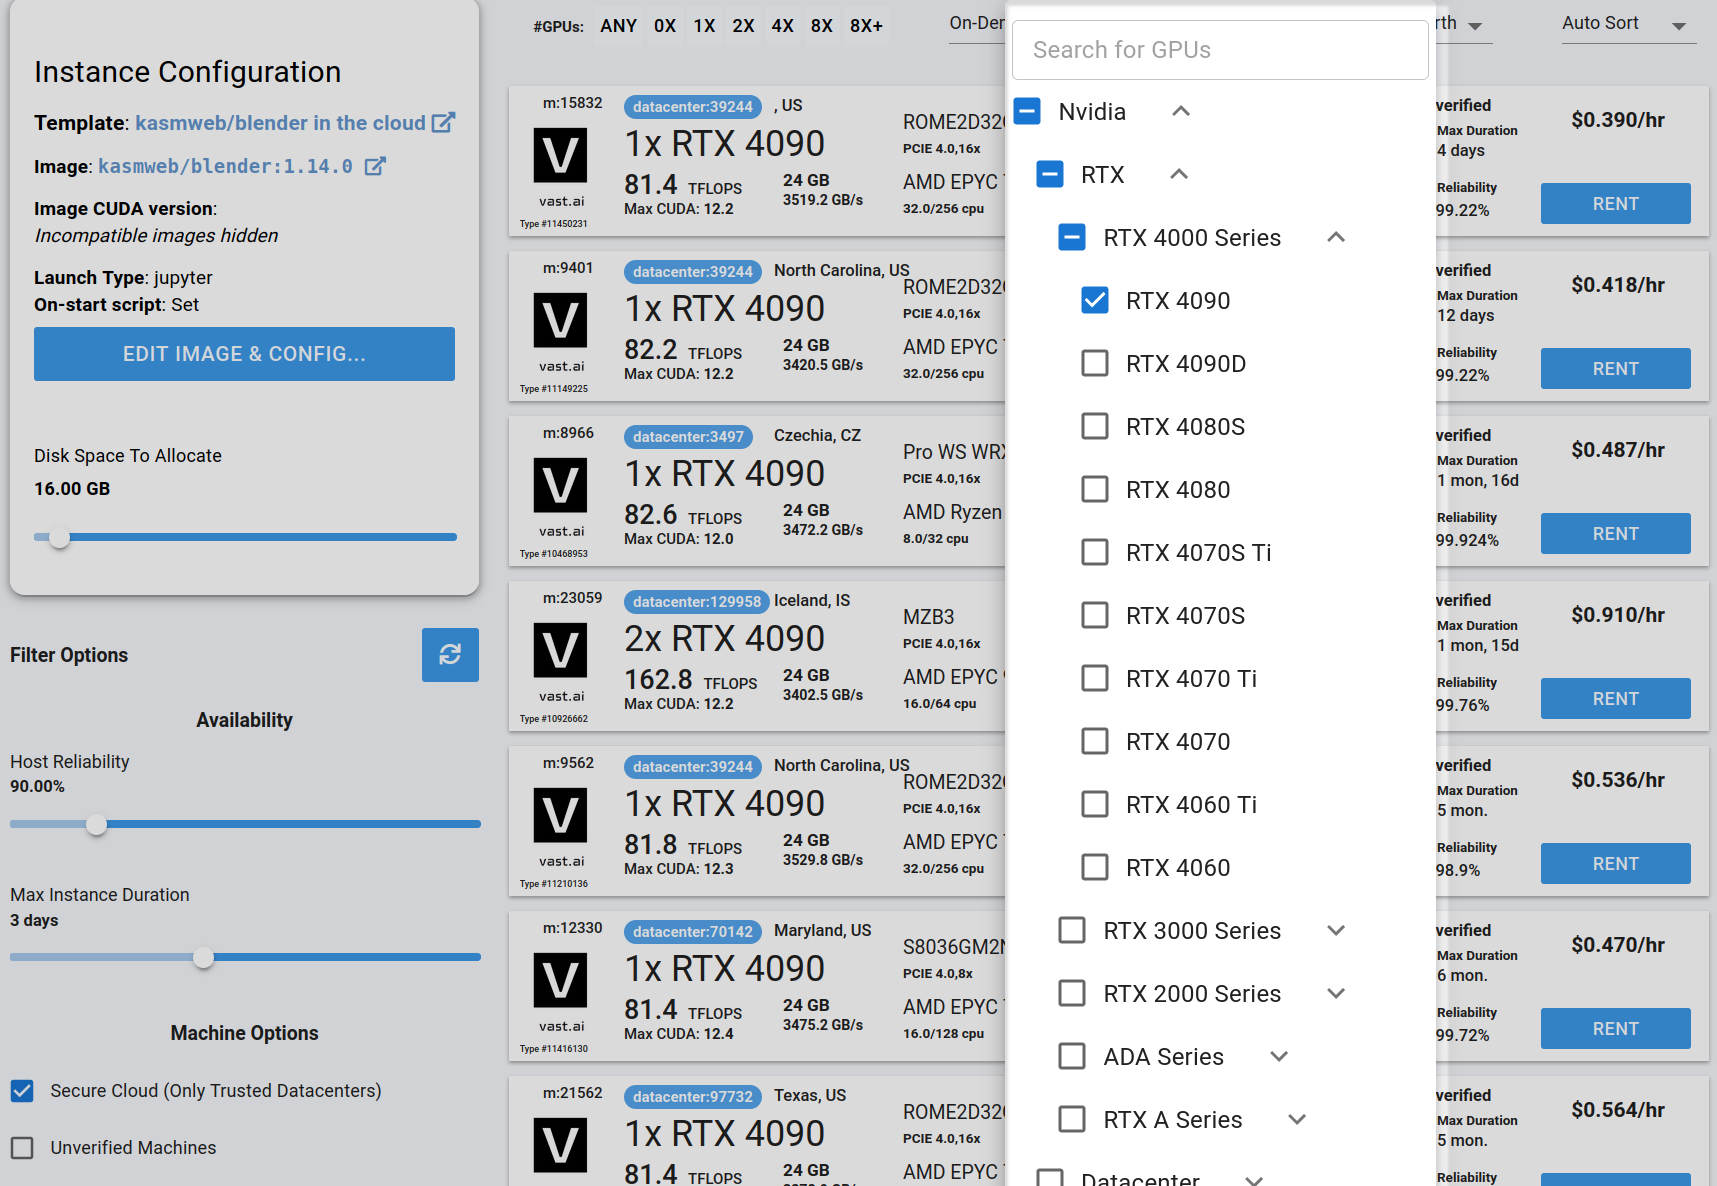
Go to the GPUs filter and check the box for RTX 4090 or another GPU instance.
For example,
## Step 4 - Choose a GPU by Clicking "RENT"
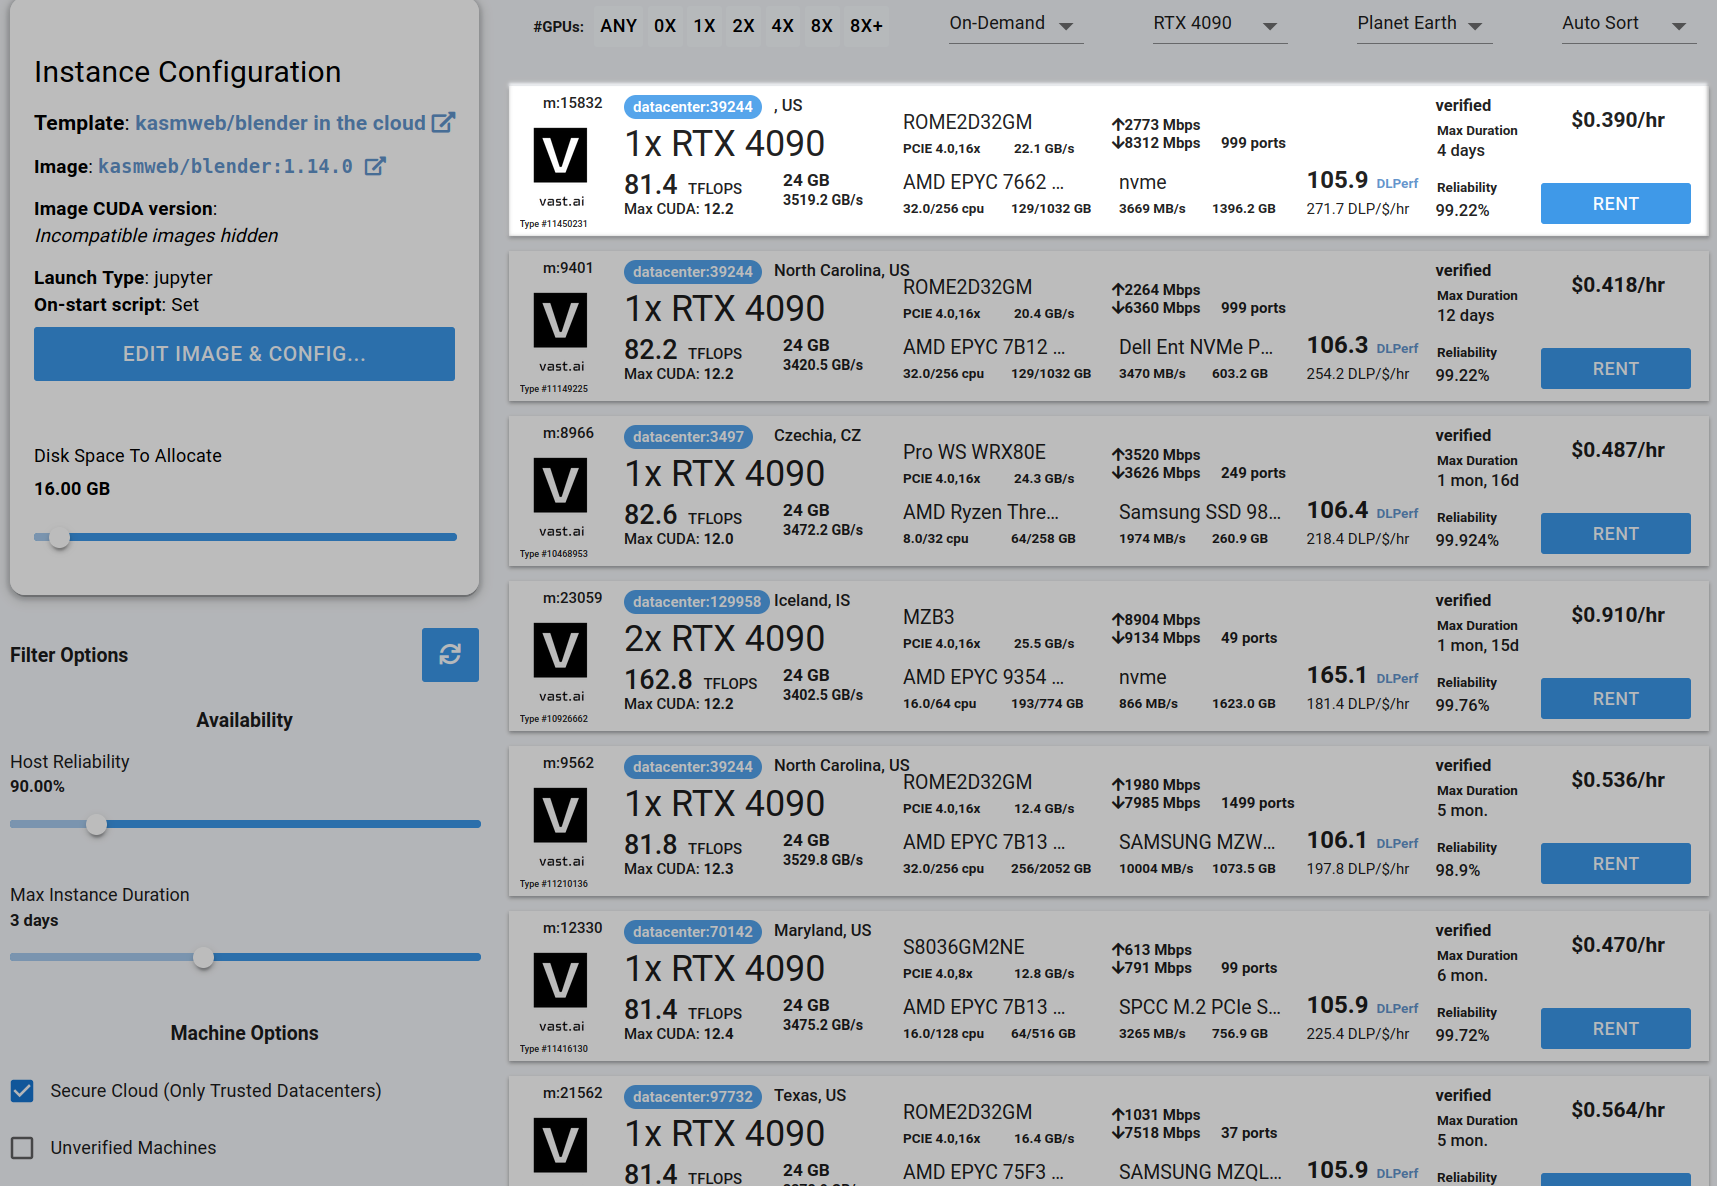
Choose a GPU that meets your budget, desired reliability %, and other constraints by clicking "RENT". GPUs are sorted by a complex proprietary algorithm that aims to give users the best machines for their value by default.
You can filter GPUs further per your requirements if desired.
## Step 5 - Use Jupyter Direct HTTPS Launch Mode
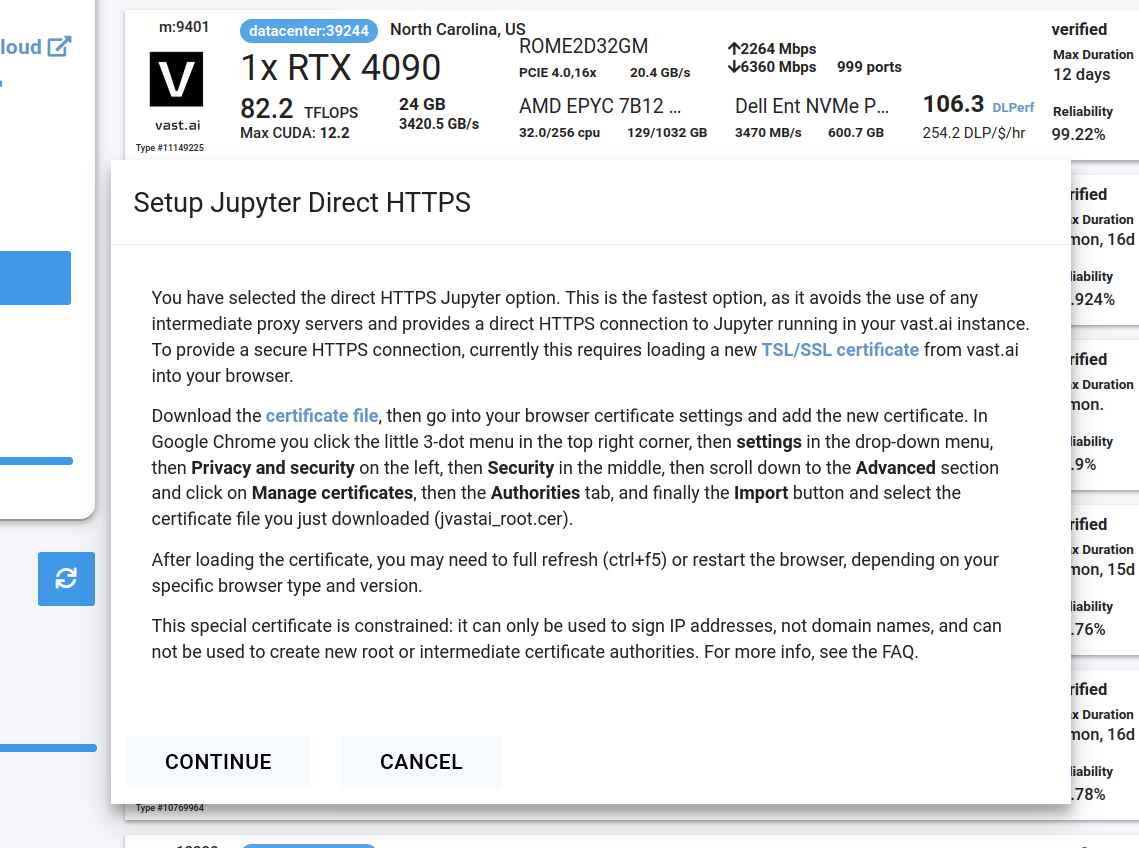
Follow the instructions related to adding a certificate to your browser if you need to when it asks you to "Setup Jupyter Direct HTTPS" and click "CONTINUE". Here's more information on the Jupyter direct HTTPS Launch Mode and Installing the TLS certificate: [Jupyter](/guides/instances/jupyter)
## Step 6 - Open Blender
Go to the Instances tab to see your instance being created with it "Creating". When the message on the blue button changes to "Open", click on Open to open Blender.
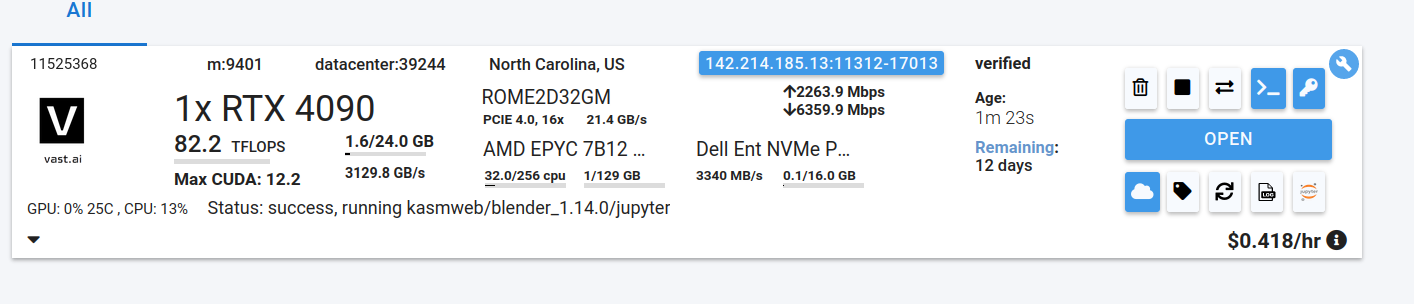
Here's more info about instances at Vast if you need to reference it: [Instances Guide](/guides/instances/managing-instances)
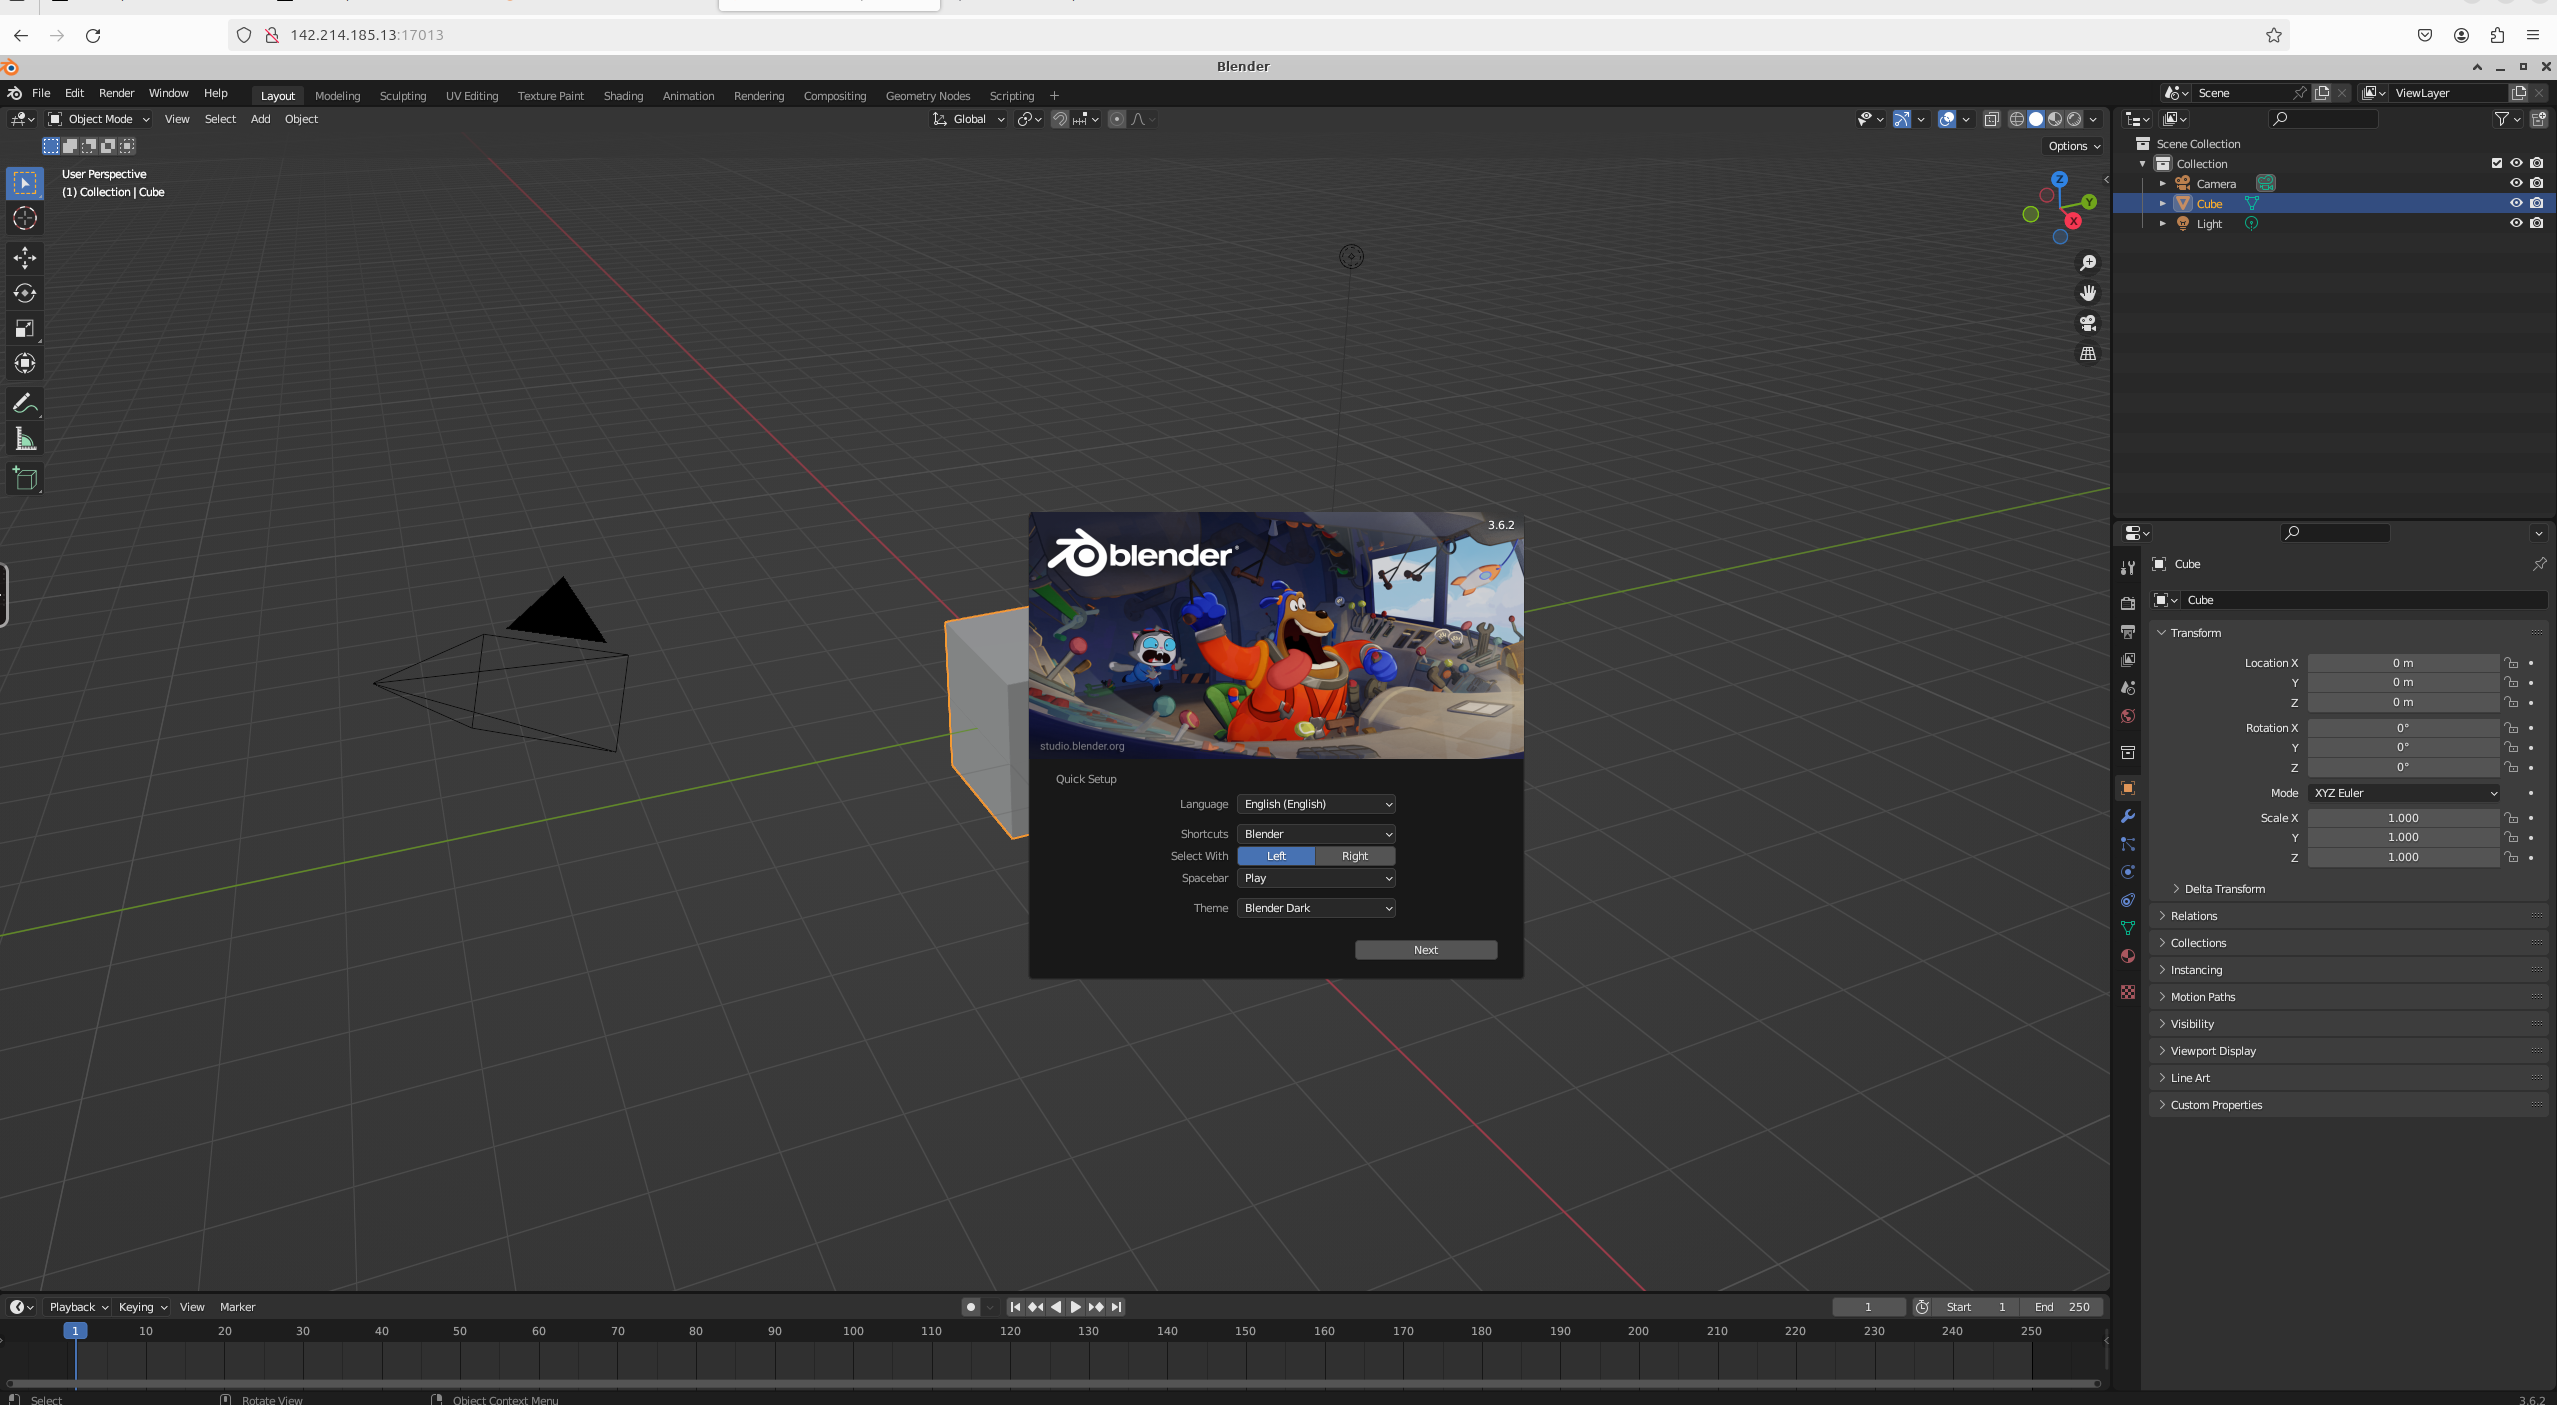
If you see an error that says something like "'clipboard-read' is not a valid value for enumeration PermissionName", please close that window.
You should now see Blender!
## Step 7 - Upload .blend file(s) through Jupyter Notebook
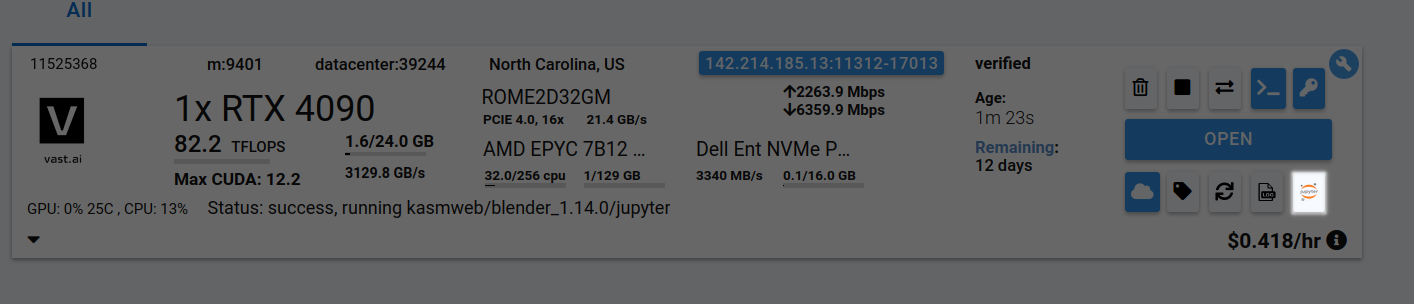
Click the Jupyter Notebook button to open Jupyter Notebook.
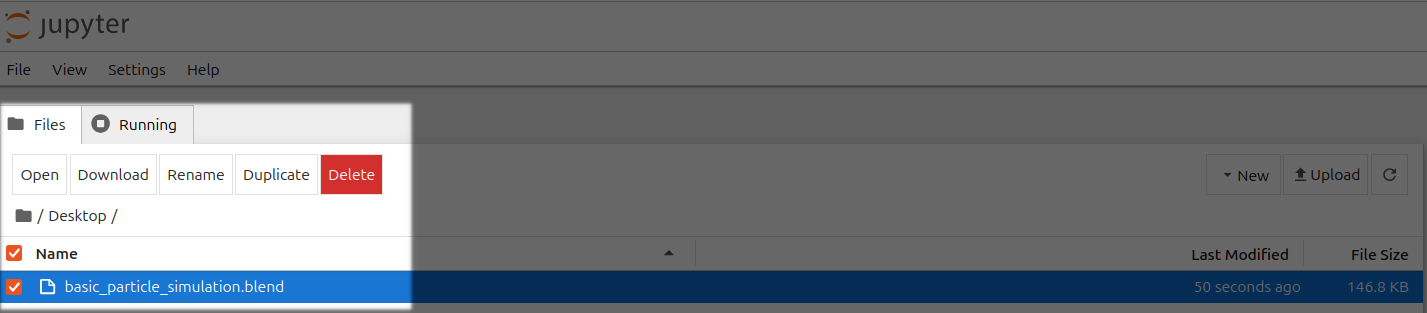
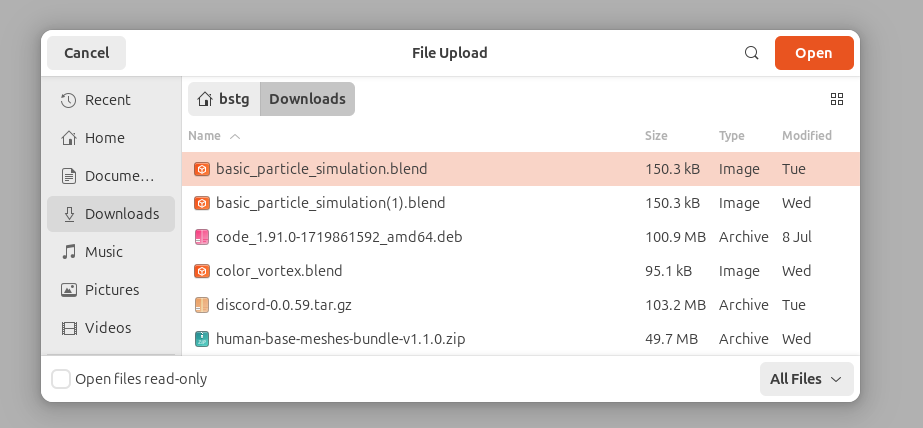
Go to your Jupyter Notebook, click the upload button on the top right, and upload one of your .blend files from your local computer to a directory in the Jupyter Notebook.
In this case, I'm uploading basic\_particle\_simulation.blend to the Desktop directory.

## Step 8 - Open .blend file in Blender
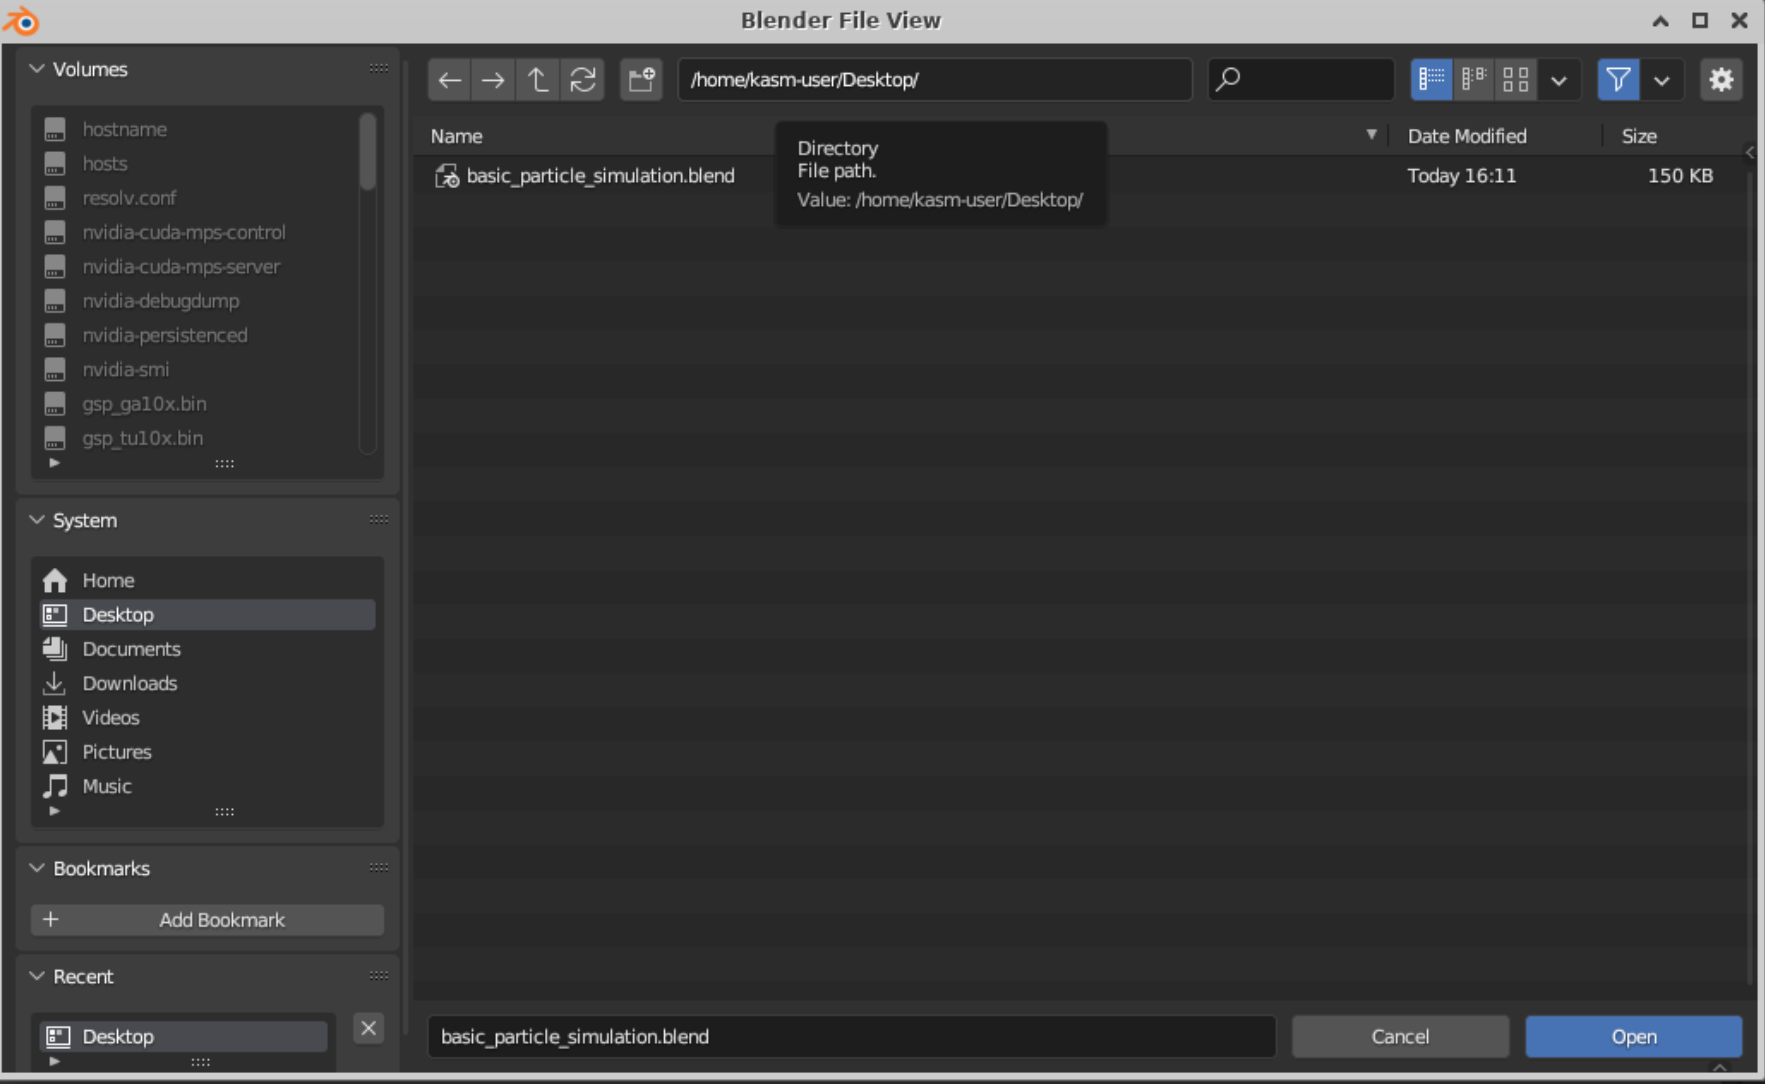
Go back to the tab where Blender is running, click on File, click on Open, find your file, and open it. In this case, my basic\_particle\_simulation.blend is in the Desktop directory since that's where I uploaded it in Jupyter Notebook
## Step 9 - Work on Your .blend file in Blender!
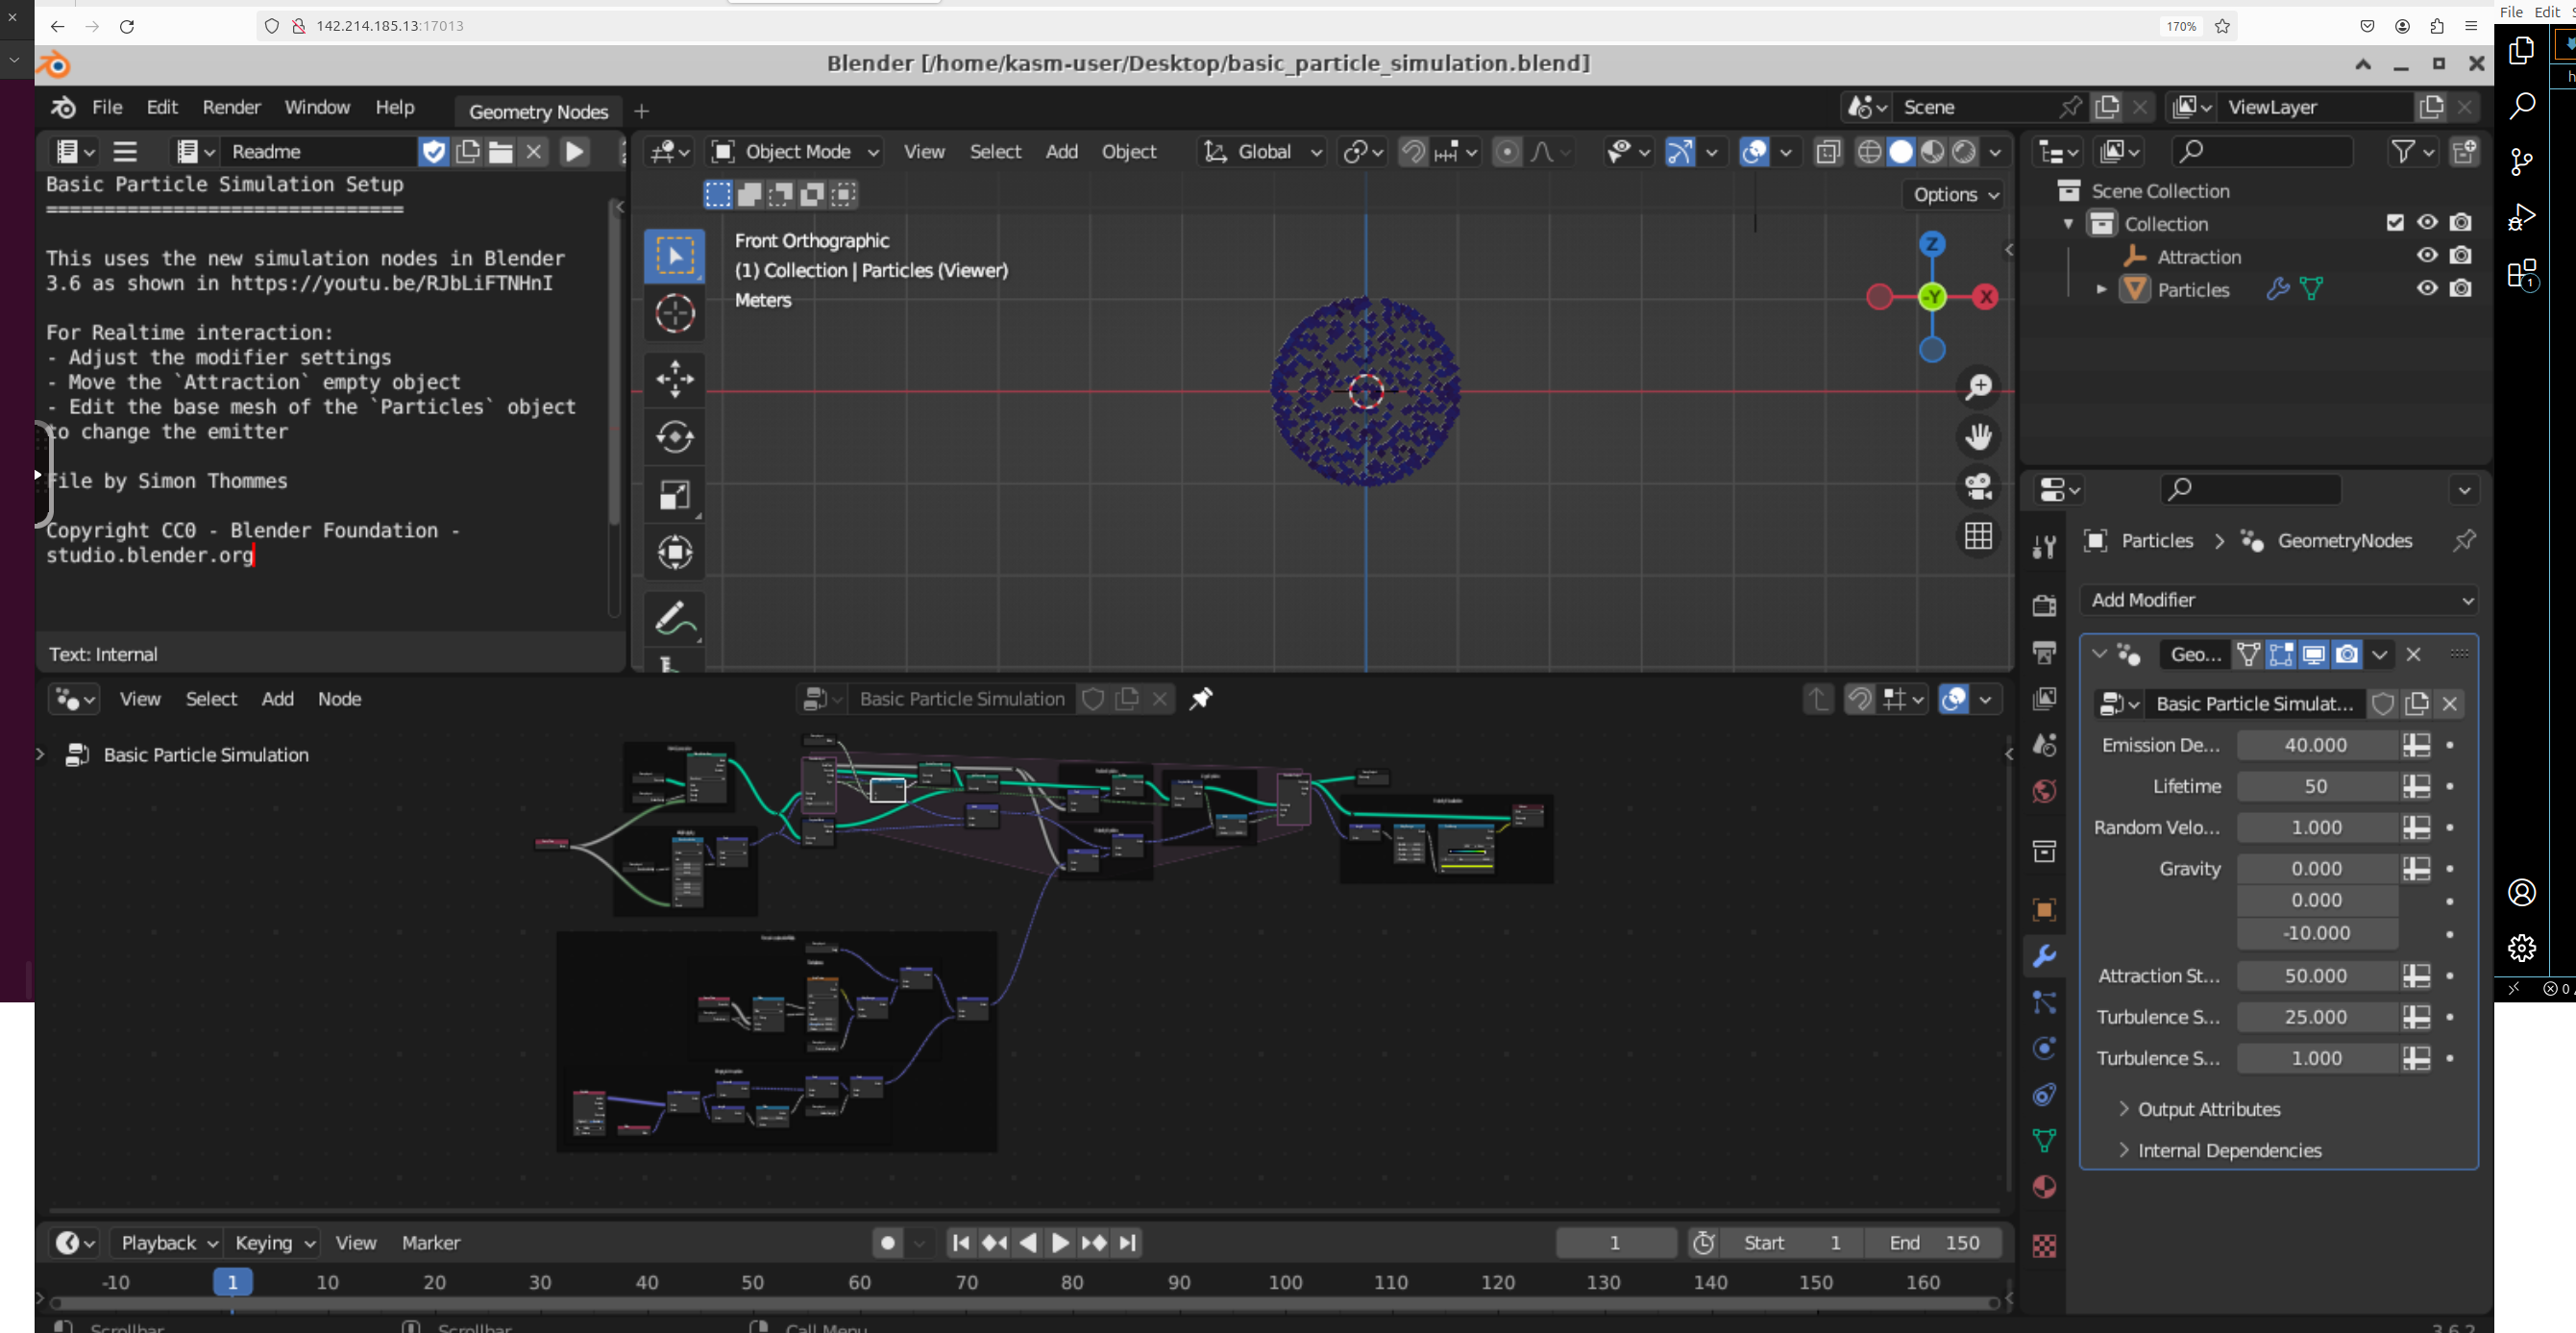
1. There you go! You should now able to see your .blend file in Blender in the Cloud using Vast.
## Step 10 - Download files as needed from Jupyter Notebook
1. You can save files in Blender and download them by selecting the file(s) and clicking the Download button in Jupyter Notebook.